
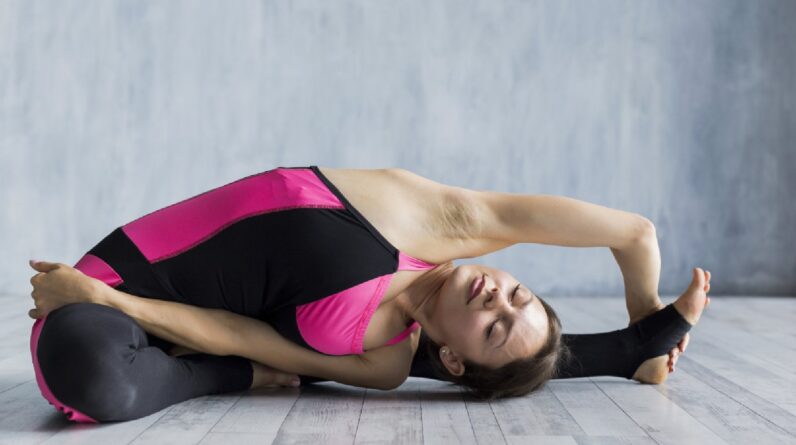
Twisting yoga can help you with digestion, mobility of the spine and more. So, try these twisting yoga poses for beginners.
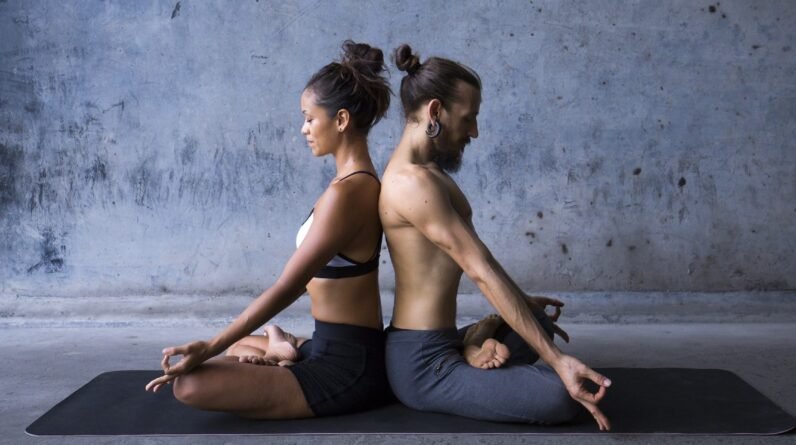
A little twist in life can sometimes do wonders! The same stands true when it comes to yoga. Think of it this way – even when you do a simple standing twist, it can help to reduce back fat and love handles. In yoga, there are various twisting poses that involve a rotation of the spine and torso. You can do these while standing or sitting. But not everyone gets these asanas right. People tend to make mistakes like over-twisting or not engaging the core muscles. If you’re not too sure about doing twisting yoga, let us tell you about the best twisting yoga poses for beginners that are easy to do and also beneficial for health.
What is a twisting yoga pose?
A twisting yoga pose, also known as a spinal twist or revolved pose, involves rotating the spine while maintaining a stable base. These poses typically involve twisting the torso to the left or right while keeping the hips facing forward, says yoga expert Himalayan Siddhaa Akshar.

What are the twisting yoga poses for beginners?
Twisting yoga poses can range from gentle stretches to other postures like the following –
1. Bharadvajasana (Bharadvaja’s Twist)
- Begin by being seated and your legs extended in front of you.
- Bend your knees and shift your body weight to the right buttock.
- Drop down your knees to the left and bring your feet to the right, stacking them on top of each other.
- Inhale to lengthen your spine then exhale as you twist your torso to the right.
- Place your left hand on your right knee and your right hand behind you on the floor.
- Switch sides after holding this pose for several breaths.
2. Marichyasana (Marichi’s Pose)
- Sit with your legs in front of you while keeping your feet flexed.
- Bend your right knee and place your right foot on the outside of your left thigh.
- Inhale, lengthen your spine, and reach your left arm up.
- Exhale, twist to the right, and hook your left elbow outside your right knee.
- Place your right hand behind you for support.
- Hold for several breaths then repeat on the other side.
3. Ardha Matsyendrasana (Half Lord of the Fishes Pose)
- To do Ardha Matsyendrasana, begin seated with your legs extended in front of you.
- As you bend your knees, put your feet flat on the ground.
- Cross your right foot over your left thigh, placing it flat on the floor.
- Inhale, lengthen your spine, and hug your right knee with your left arm.
- Exhale, twist to the right, and place your right hand on the floor behind you.
- Hold it for several breaths then move on to the other side.
4. Parivrtta Utkatasana (Revolved Chair Pose)
- Begin in a standing position and keep your feet hip-width apart.
- Inhale, raise your arms overhead, and bend your knees, coming into Chair Pose.
- Exhale while you twist your torso to the right side. As you do it, take your left elbow to the outside of your right thigh.
- Press your palms together in prayer position.
- Keep your knees in line with each other and your weight evenly distributed.
- Hold it for several breaths then change sides.
5. Parivrtta Trikonasana (Revolved Triangle Pose)
- Begin in Triangle Pose, with your right foot forward and your left foot back.
- Inhale, lengthen your spine, and place your left hand on your left hip.
- Exhale, twist your torso to the right, reaching your right arm up towards the ceiling.
- Keep your legs straight and your hips square as you twist.
- Hold it for a few breaths then switch sides.
6. Parivrtta Parsvakonasana (Revolved Side Angle Pose)
- Start in Warrior II pose with your right foot forward and your left foot back.
- Inhale, lengthen your spine, and exhale as you twist your torso to the right.
- Put your left elbow on the outside of your right thigh.
- Reach your right arm up towards the ceiling, stacking your shoulders.
- Keep your hips low and your front knee bent as you twist.
- Hold for several breaths then change sides.
7. Jathara Parivartanasana (Revolved Abdomen Pose)
- Lie down on your back while keeping your arms out to the sides in a ‘T’ position.
- Bend your knees and draw them towards your chest.
- Exhale, drop your knees to the right, twisting your torso to the left.
- Keep your shoulders grounded as you twist.
- Hold for a few breaths then move on to the other side.
What are the health benefits of twisting yoga poses?
Twisting yoga poses offer a wide range of health benefits:
1. Spinal mobility
Yoga twists can help increase the flexibility and mobility of the spine. It can promote better posture and reduce the risk of back pain, says the expert.
Also Read


2. Digestive health
You must do twists, especially in summer when there can be digestion issues. Such poses massage the abdominal organs, which in turn aid in digestion and detoxification.
3. Stress relief
Twisting poses can help release tension and stress that tend to get stored in the body. This can promote relaxation along with a sense of well-being, says Akshar.
4. Improves Breathing
When you twist your body to do these asanas, it encourages deeper breathing. This can help increase your lung capacity and oxygenation of your body.
What are the common mistakes to avoid while doing twisting yoga?
You can reap these health benefits if you don’t make the following mistakes:
- Pushing the body too far into the twist can strain the spine and lead to injury. It is important to twist from the base of the spine and only go as far as feels comfortable.
- Failing to engage the muscles of the core can make it difficult to maintain stability in the pose and can strain the lower back. Keep the core engaged to support the spine and pelvis.
- Excessive arching of the lower back can compress the lumbar spine and lead to discomfort or injury. Keep the lower back long and maintain a neutral spine, suggests the expert.
- Neglecting proper alignment in twisting poses can put unnecessary stress on the joints and muscles. Pay attention to alignment cues and adjust the pose as needed to ensure proper alignment.
If you recently had spinal injury or you are pregnant, especially if you are in the later stages of pregnancy, twisting poses may be uncomfortable for you. Even people with vertigo or dizziness, should do the twists with caution.