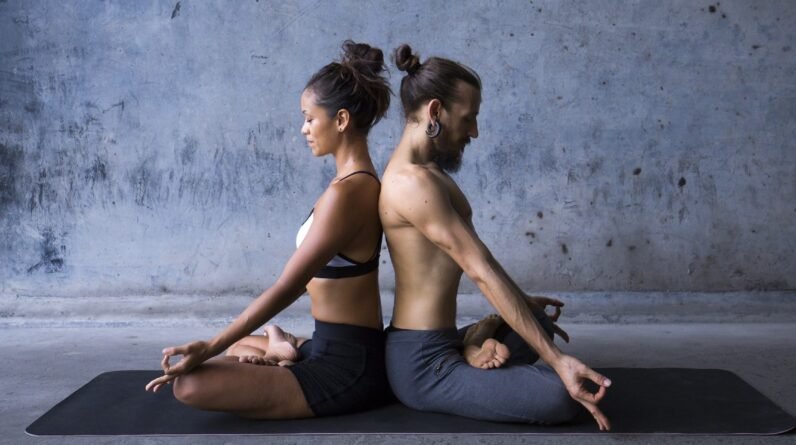


Doing yoga for tennis elbow is a natural and easy way to alleviate discomfort. Check out some poses that can help you.
Contrary to its name, tennis elbow is not only restricted to tennis players. This painful, frustrating condition can be brought upon by overusing your forearm muscles. While rest and ice are your safest recovery options, have your tried practicing some poses of yoga for tennis elbow? Yes, it’s true that gentle, targeted poses may strengthen the forearm muscles, increase blood flow, and reduce inflammation. Regular practice can result in a greater range of motion, improved stability, and a considerable reduction in pain. Here are some of the most significant yoga poses for addressing the discomfort and limitations associated with this condition.
What is a tennis elbow?
Tennis elbow, also known as lateral epicondylitis, is a painful condition that affects the outer area of the elbow. Overuse of your forearm’s muscles and tendons causes inflammation and minor tears in the tissues, as found in a study published by StatPearls. While it is usually associated with tennis, activities such as painting, gardening, and even typing can help it expand. Typical symptoms include pain on the outside of the elbow, soreness to the touch, and grip weakness. However, practicing yoga for tennis elbow may help to ease the discomfort.
Yoga for tennis elbow: Can it help?
Yes, there are many useful poses of yoga for tennis elbow that you can try for immediate relief. Gentle stretches and strengthening poses increase the flexibility and range of motion in the wrists and forearms, reducing stiffness and soreness, as found in a study published by the journal Informed Health Organization. Yoga also increases blood flow to the weakened area, which promotes healing and reduces inflammation. Yoga stabilises the elbow joint and prevents future strain by strengthening the muscles surrounding it. Plus, deep breathing techniques used in poses of yoga for tennis elbow pain alleviation can assist in reducing stress and promote relaxation, which can help with pain management.

Yoga for tennis elbow: 9 must-try poses
Here are some easy and effective poses of yoga for tennis elbow you can try, as recommended by yoga expert Saurabh Bothra.
1. Cat-cow pose (Marjaryasana-Bitilasana)
- Start on your hands and knees, wrists directly below your shoulders, and knees below your hips.
- Inhale, drop your belly towards the floor, lift your chest, and gaze upwards (Cow Pose).
- Exhale, round your spine upwards, and tuck your chin to your chest (Cat Pose).
- Repeat 5-10 times, coordinating your breath with the movement.
2. Downward-facing dog (Adho Mukha Svanasana)
- Start on your hands and knees.
- Exhale, lift your hips up and back, forming an inverted V-shape with your body.
- Press your hands and feet firmly into the ground.
- Hold for 30 seconds to 1 minute.
3. Eagle pose (Garudasana)
- Stand tall, feet hip-width apart.
- Bend your knees slightly and cross your right leg over your left, hooking your right foot around your left calf.
- Cross your right arm over your left, bending your elbows and bringing your palms together.
- Hold for 30 seconds, then switch sides.
4. Cow face pose (Gomukhasana)
- Sit on the floor with your legs crossed.
- Bend your right arm at the elbow and bring your hand towards your back, palm facing inwards.
- Bend your left arm at the elbow and bring your hand towards your back, palm facing outwards.
- Try to clasp your hands together.
- Hold for 30 seconds, then switch sides.
5. Prayer twist (Paschimottanasana variation)
- Sit on the floor with your legs extended in front of you.
- Inhale, raise your arms above your head.
- Exhale, bend forward from your hips, reaching towards your toes.
- Gently twist your torso to the right, bringing your right hand to the outside of your left leg.
- Hold for 30 seconds, then switch sides.
6. Triangle pose (Trikonasana)
- Stand with your feet wide apart, arms extended to the sides.
- Turn your right foot out 90 degrees and your left foot slightly inwards.
- Exhale, bend to the right, placing your right hand on your right leg or the floor.
- Extend your left arm towards the ceiling.
- Hold for 30 seconds, then switch sides.

7. Warrior II pose (Virabhadrasana II)
- Stand with your feet wide apart, arms extended to the sides.
- Turn your right foot out 90 degrees and your left foot slightly inwards.
- Bend your right knee, bringing your thigh parallel to the floor.
- Extend your arms parallel to the floor, palms facing down.
- Hold for 30 seconds, then switch sides.
8. Extended side angle pose (Utthita parsvakonasana)
- Start in Warrior II Pose.
- Place your right forearm on your right thigh.
- Extend your left arm towards the ceiling.
- Hold for 30 seconds, then switch sides.
9. Supported shoulder stand (Salamba sarvangasana)
- Lie on your back with your knees bent.
- Place your hands on your lower back for support.
- Lift your hips and legs towards the ceiling.
- Support your lower back with your hands.
- Hold for 30 seconds to 1 minute.
Things to keep in mind while doing yoga for tennis elbow
- Before starting any new exercise program, it is essential to consult with a doctor or physical therapist, especially if you have any underlying health conditions.
- If you experience any pain, stop the pose immediately and rest.
- Perform a gentle warm-up, such as light cardio or dynamic stretches, before practicing yoga.
- After your yoga poses, perform some gentle stretches and deep breathing exercises to cool down.
Remember, consistency is key. Practice these poses regularly to experience the full benefits of yoga for tennis elbow relief.
Related FAQs
Is it safe to practice tennis elbow yoga poses every day?
It’s generally safe to practice yoga poses for tennis elbow daily, but it’s crucial to listen to your body. Start with gentle variations, avoid any poses that increase pain, and rest when needed.
When is the best time to practice yoga poses for tennis elbow pain?
The best time to practice yoga poses for tennis elbow is typically when your body feels most relaxed and receptive. Many people find that practicing in the morning or evening, after a warm-up, can be beneficial.
Disclaimer: At Health Shots, we are committed to providing accurate, reliable, and authentic information to support your health and well-being. However, the content on this website is intended solely for informational purposes and should not be considered a substitute for professional medical advice, diagnosis, or treatment. Always consult a qualified healthcare provider for personalised advice regarding your specific medical condition or concerns.